Monday 15 December 2014

Evaluation

Evaluation:

Now that the project has come to an end I can honestly say that I have enjoyed most if not all aspects of Unit 1 photography. I have thoroughly enjoyed learning about all the different formal elements individually as i have found them to help me get a more creative eye for photography. I have also enjoyed the smaller projects that we have done like the walks, contrast and the work of Mapplethorpe. I think that the biggest thing that I will take away from this Unit is the use of the formal elements which I think will help me with my images in the next Unit.


I have found that researching the 20 different photographers and then researching 5 of them in more detail has been helpful as it has helped me to become more creative with some of my ideas and to maybe incorporate some of the artists work into my own work.


I think that shooting in the style of Mapplethorpe has been really helpful for me as well as enjoyable. I have enjoyed all the studio work but shooting Mapplethorpe styled portraits has been my favourite. I found that this topic was fun to be in full control of how the image looked meaning that we had to think about lighting and composition a lot more. I also think that the Mapplethorpe shoots has helped my overall photography skills as I think that I think about things like composition a lot more and I can defiantly see the effect of this in my work.


There has been some topics that I am glad to be moving on from, like contrast and photo joiner. While I did enjoy shooting contrast, after doing it in both the studio and on location twice I have felt that I was beginning to repeat myself with the images I was producing and I also found my self getting bored and wanting to move on to a new topic.


Overall I have really enjoyed this first unit an think that the skills I have learnt will be a big help in the next unit. However I am looking forward to the next unit and learning a lot more on some new shoots as well as incorporating the things i have learnt this unit to the next.

Connecting essay 5

Connecting essay 5: 


The image above is a photo joiner of a building. It is clear that each section of the building has been made from a number of images and these images have not been put in an exact space which is straight and perfectly lined. This example shows how photo joiners can be used to make an image more original and standout from how it usually looks. 


Above is my example of a photo joiner, and I have also chosen to use a building to make up my image. In my image I have used a lot more images to build up my photo joiner which allows for a different effect to the one i used as an example. The example image is a lot easier to tell what the image is of because of the use or larger images. My image for example is a lot busier and it hard to see each part of the image. However my image has used a lot more images which gives it a accurate idea of the image being a photo joiner.

One connection between the two images is the obvious use of multiple images to build up the photo joiner. Another connection between these two images is the image building up to a image of a building to show all the different aspects of the building. The main difference between the two images is the size of the photos in the photo joiner. In my image i used smaller images that were more precise to show more detail in these images. The effect of this meat that there was more images included in my photo joiner, as well as being more precise in the detail that were shown.

Connecting essay 4

Connecting essay 4:


In the image above it is clear that the photographer took their to to think that the composition of the photo and the positioning of the camera. For this reason you can see that the sun is shinning more on the right side of the image than on the left side. This allows for a difference in colour in the image as well seeing some parts of the image clearer than the others. There is also a bright clear sky in this picture which is able to fit nicely into the image without being bold or to subtle.


The image above is my own image which i think is pretty similar to the first image. In my image the sun is shinning on to the left side instead of the right side. The effect of this allows for again a difference in colour and also allows for the image to move into the darkness of the other side. The blue in the sky allows for a contrast in the colours but is not to subtle to be ignored or not to bold to be distracting.


One of the biggest connections between these two images is the use of the sun light that changes some of the colour as well as move the image in to the distance. Another connection between these two images is the use of journey showing how the image moves on into the distance.

Thursday 11 December 2014

Definition post - Contrast

Definition post - Contrast:


Dictionary definition:the state of being strikingly different from something else in juxtaposition or close association.


Describing words:Comparison, contradiction, disagreement, variation, opposite.


I have chosen these pictures from the internet as i feel they all show different types of contrast however the same kind of effect is given off. I think these pictures as i feel that all the pictures show contrast in a simple way by not having harsh or clearly shown differences  between the two different aspects of the photo. I think that these pictures are a good style of contrast to look at when looking at contrast as its a good way of showing how common contrast can be in photography.


My definition: Contrast is a distinctive difference or opposite between different things for example the contrast between male and female. 

Connecting essay 3

Connecting essay 3:


This is one of Mapplethorpe's portraiture, this is a clear example of the style that his shoots are taken. In this photo it is clear that Mapplethorpe has thought about his composition so that the person is in the middle of the the frame. He also changes the colour of his prints to black and white which helps his images to have a different tone. Mapplethorpe shows his complete control over how is final image will look and this is clear in the way that the model is perfectly styled for the image and the expression she was told to have. By doing this Mapplethorpe is able to show his originality and control over his images and is able to make it different for the time his images were produced.


Above is my example of a Mapplethorpe portrait. I have attempted to style my shoot as close to Mapplethorpe's as possible by thinking about how I wanted Lauren to sit, what expression to have. It is clear that in my images i should have focused a little more on my composition as in my image Lauren is not in the middle of the frame nor is she sitting straight. In the image tone is used to give a more subtle feel to the image. The use of tone makes the image feel relaxed and by choosing to not use colour attention is not taken away from the model.

The clear that the biggest connection between the two is that the picture is taken in Mapplethorpe's style. Another connection between the two is the use of composition in the photo. This allows for a accurate and clean shot that doesn't have any distractions in the background.  The use of tone in both of the images makes the models fit into the frame in a relaxed way that looks natural instead of them looking out of place. The main difference in these photos in the use of composition, the effective use of this element in Mapplethorpe's image makes the model comfortably fit into the frame and the photo. The use of composition is lacking in my photo making the model almost look out of place and as it the image has bee n rushed and the composition hasn't even been considered.

Wednesday 10 December 2014

Contrast location 2 - work diary

Contrast location 2 - Work diary:

In this session we was given the task to re-shoot contrast on location. I found this session to be be quite boring and found myself repeating images from my previous contrast location shoot. While shooting this topic I attempted to find some more original and different shoots than I had already taken, I found that while I had taken a few shots that were different these were limited as I was trying to not repeat the same shots. After shooting the topic of contrast twice now I have decided that I have finished with the topic and don't feel that I need to shoot it again.


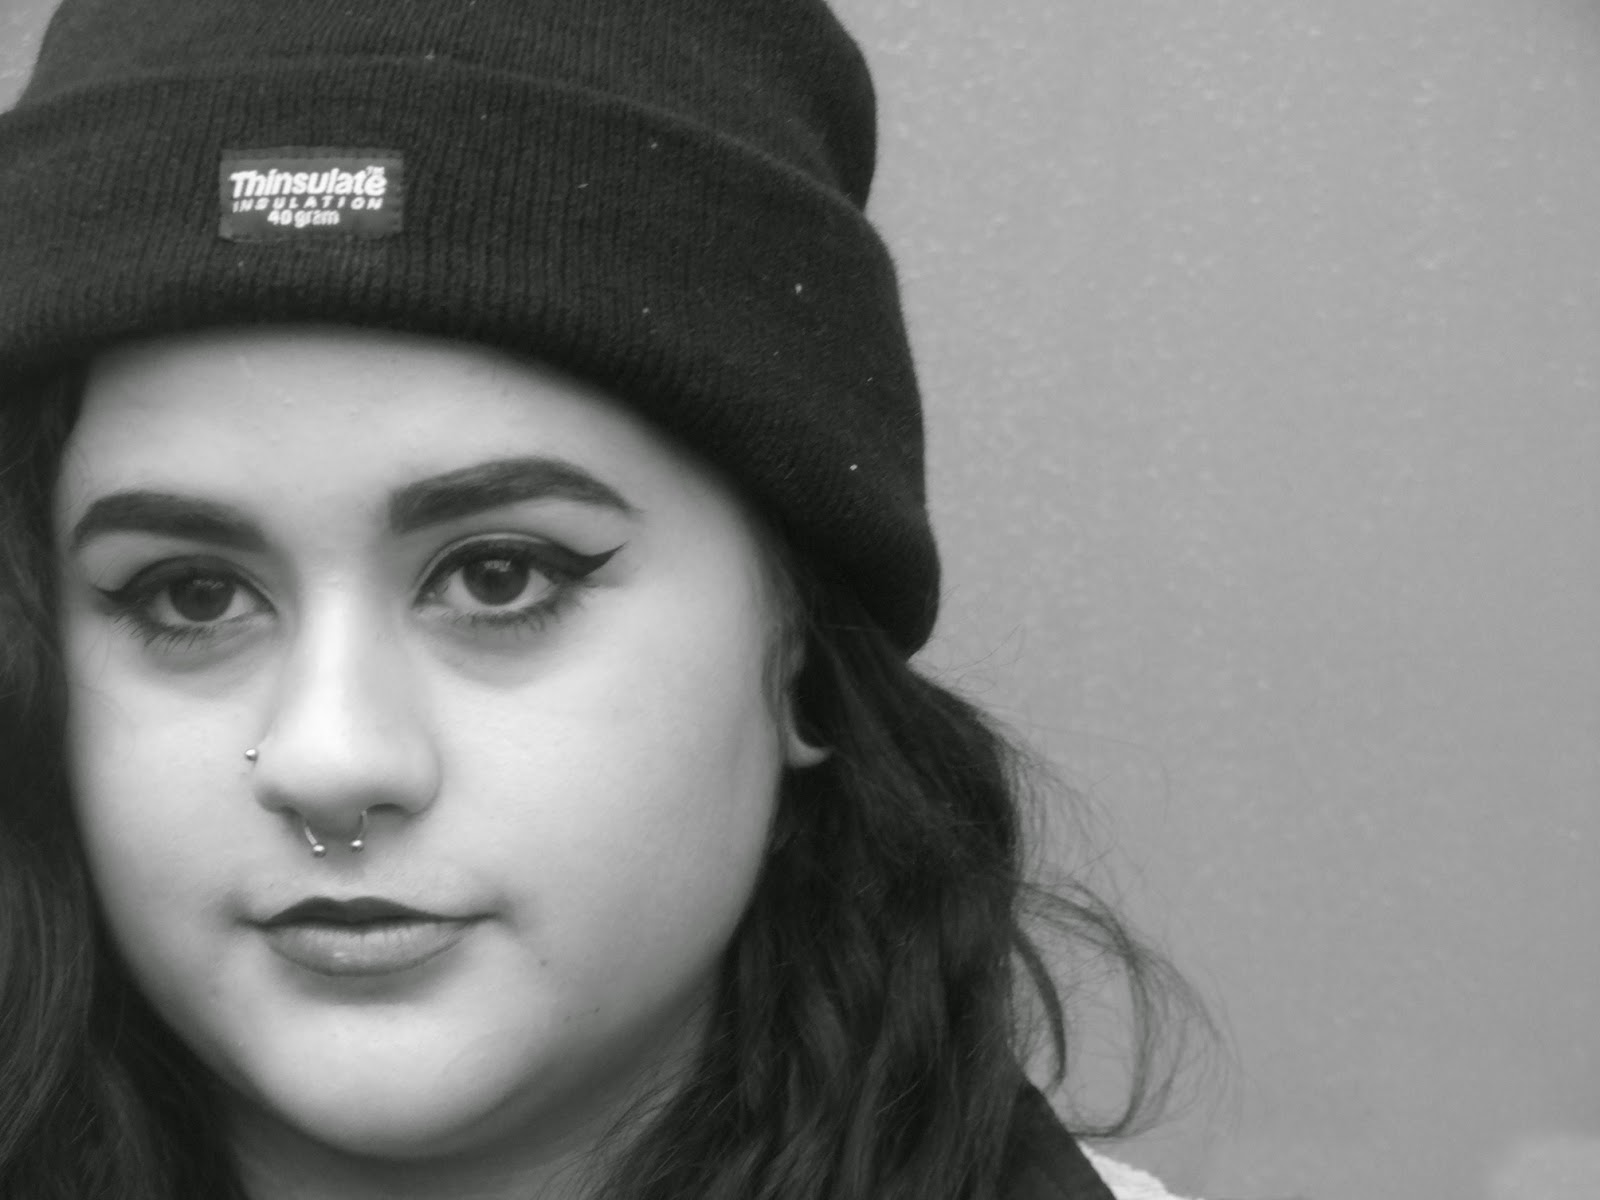
The two pictures above and below are two of my examples of contrast. The image above shows a clear contrast between colours as well as the tiles and the grass. I have chosen this picture because I like the clear use of colour in this image as well as the clear difference between the two. I have chosen the image below because of the clear difference between the bricks and the stones, this contrast is a different contrast to any that I have photographed before as I have focused on something else other than colour. I think that this is a clear example of the different types of contrasts that can be photographed.


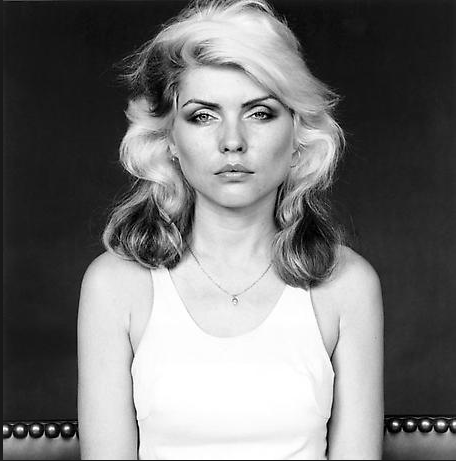
I have included these two pictures from the internet to show contrast on location. The image above is a clear contrast between colours as well as the grass with the soil. I have included this image to show how contrast can be found with all different settings and with natural elements. I have included the picture below because it shows a contrast between something that is natural and something that is man made.


Tuesday 9 December 2014

contrast location 1 - work diary

Contrast location - work diary:

In this session we were shooting contrast while on location. I enjoyed this topic as i found it easy to find different contrasts while walking around campus. I found myself taking a large number of images as well as having a variety of different contrasts. I also found myself thinking of more original contrasts meaning that i didn't find myself getting bored. I wouldn't re do this topic as i was happy with the work that i had produced, and found that i had enough without needing to re shoot. I think that in this session some of my best images were produced as i found my self coming up with original ideas as well as ideas that fit the topic. 


These two pictures are two of my examples of contrast. The picture above is showing a contrast in the sky that was completely natural. I think that this is one of my best pictures for showing contrast because it is completely different to any of the other pictures that i had taken. I also like how natural the contrast is and that the picture has been left without to much editing. The picture below is a more common contrast as it is a contrast between the colour of two sets of bricks. I have chosen to include this picture because i think that it shows that although it is a common contrast it is still a very clear and one of my best ways of showing contrast in photography. It also shows how simple a contrast can be and doesn't have to be over complicated.


In these two images contrast is being shown. I have chosen the first image because of the similarity between it and  my image of the sky. I have included this to show what I based my idea off of. I have also included this to show how its a natural occurrence as its not something that i have thought of my self. i have also chosen this picture to show that contrasts don't always rely on a personal touch as well as something growing, in the case i was lucky to take my picture when i did as i would not always be able to find a sky like that. I have chosen the picture below because it shows how clear a contrast can be even if it is not natural. This is clear as you can tell that someone has placed the shoes on the grass. In this image the contrast can clearly be the difference in the colours as well as the idea of something man made being placed on a natural setting.


Monday 8 December 2014

Contrast location 1 - straight images

Contrast location 1 - straight images:


Mapplethorpe location - Work diary

Mapplethorpe Location:


In this session we was shooting in the style of Mapplethorpe while on location. I found this task to be more difficult than when shooting in the style of Mapplethorpe in the studio. I found that this time around I had to focus more on the composition as well as focusing more on my background and making sure that I was happy with it. Once I had got into the style of this shoot, I found myself enjoying it more as well as being happy with the pictures that i was producing. If I could re shoot this topic I would try to shoot more of a variety of pictures instead of them being quite similar.


These are two pictures from my Mapplethorpe location shoot. I have chosen these to because I think that these are two of my best for showing the style of Mapplethorpe. I these photos i have stuck to the typical idea of Mapplethorpe's shoots by sticking to the idea of having a plain background as well as have the face at one side of the frame. I have also stuck to his structure by turning the picture black and white after.


The two picture below are examples of Mapplethorpe's portraits. Most of his portraits are done in the studio, however you can see his idea being used on location. In these pictures Mapplethorpe has kept the person in the middle of the frame as well as keeping a serious mood to the photo. This is the main idea that I have tried to include in my images.


Thursday 4 December 2014

Mapplethorpe studio - work diary

Mapplethorpe studio - work diary:

In today's session we were again in the studio, we were shooting portraits in the style of the American photographer Robert Mapplethorpe. I enjoyed this session as I enjoyed positioning my class mates and having complete control of how I wanted my image to look.  If i could re do this topic I would try to think about some of the more creative Mapplethorpe shoots and try to think of a way to incorporate some of it into my work.


Above and below are an example of some of the images I produced in my studio Mapplethorpe shoot. I like these images because I like the use of black and white as well as the composition. I like the picture above because I like the way that Lauren is looking over her shoulder in to the camera. I also like how there is nothing else around her and you can't see her whole body. I like the picture below because I like how the photo was taken while Chloe wasn't looking. I like how this photo seems less serious that the one above and I think they both demonstrate Mapplethorpe's style.


Below are two examples of Mapplethorpe's portraits, I have chosen these because they are both completely different. The first one in more serious has there has been a strong use of composition. I also like how the model is not looking at the camera which gives a deeper meaning to the photo. I like the second picture because I think it is a more relaxed and fun picture. I also like how the model is not in the middle of the frame and is in the end, he is hear proving that you don't always need to be in the middle of the frame.